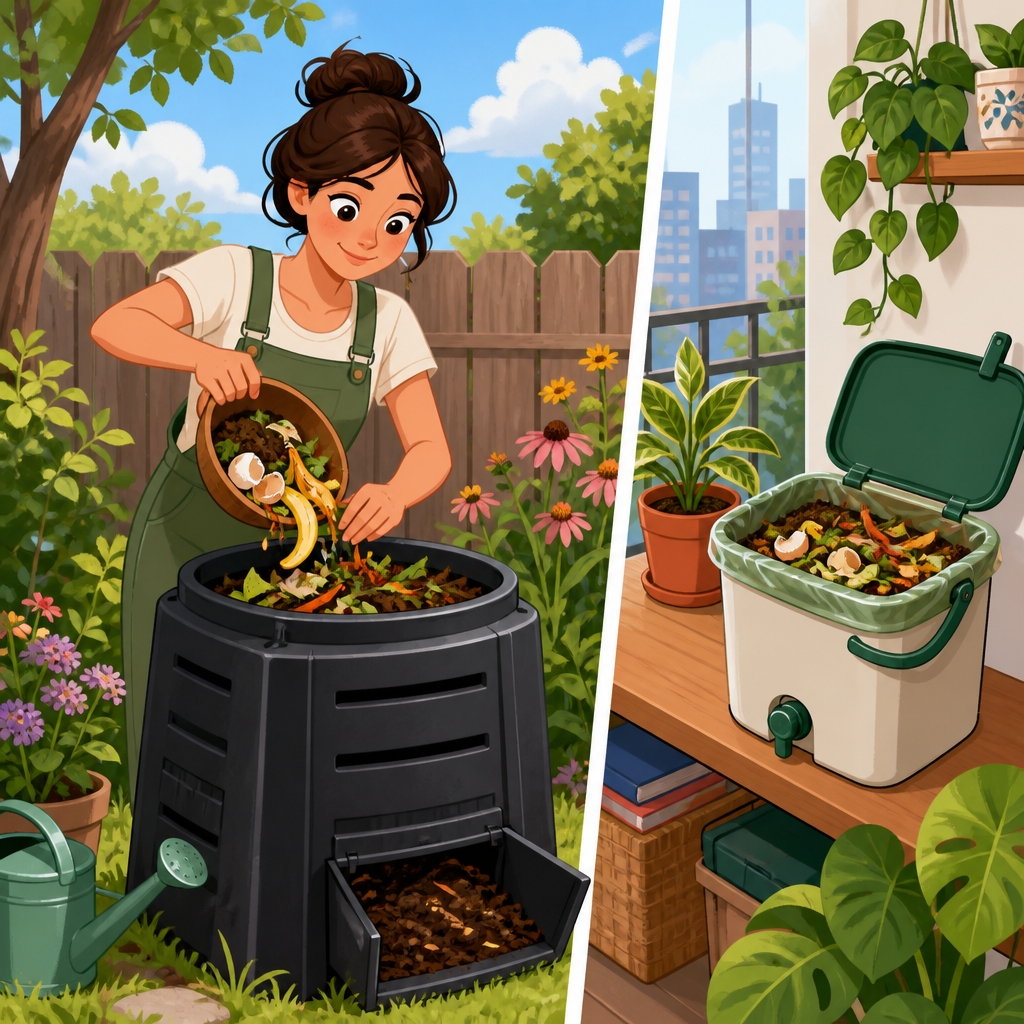
Starting a compost bin at home is one of the simplest ways to reduce household waste, improve soil, and build a more sustainable living routine without major expense. Composting is the controlled breakdown of food scraps, yard trimmings, paper, and other organic materials into a dark, crumbly amendment that feeds plants and supports healthier soil structure. I have set up compost systems in small apartments, suburban backyards, and shared community gardens, and the lesson is consistent: the best compost bin is the one you can manage weekly with the space, climate, and time you actually have. As a hub for sustainable living at home, this guide explains what composting is, why it matters, which methods fit different homes, how to avoid odors and pests, and how compost connects with lower-waste habits such as meal planning, smarter recycling, water conservation, and home gardening. If you want a practical system that turns everyday scraps into a useful resource, composting is a high-impact place to start.
Why composting belongs at the center of sustainable living at home
Composting matters because food and yard waste make up a large share of household trash, and when those materials are buried in landfills they break down without enough oxygen and generate methane, a potent greenhouse gas. The U.S. Environmental Protection Agency has long identified food waste and yard debris as major components of municipal solid waste streams, which makes source separation at home one of the most direct actions households can take. In practical terms, composting closes a nutrient loop: banana peels, coffee grounds, fallen leaves, and vegetable trimmings become material that improves soil tilth, moisture retention, and microbial activity instead of becoming disposal costs.
In a sustainable home, composting also supports other systems. Garden beds need fewer purchased soil amendments when homemade compost is available. Container plants hold water better when compost is blended into potting mixes. Families who compost often become more aware of what they waste, which naturally improves shopping habits, meal planning, and leftover use. That is why composting works well as a hub topic for sustainable living at home: it links waste reduction, food systems, plant care, and even household budgeting in one routine that is visible and measurable.
There are limits, and they are worth stating clearly. Composting does not replace good food waste prevention, and it is not a license to buy more than you need. It also requires some management. Moisture, airflow, and the balance between carbon-rich and nitrogen-rich materials determine whether a pile becomes sweet-smelling compost or a wet, matted mess. Fortunately, once you understand those variables, the process is straightforward and forgiving.
Choose the right composting method for your space
The right setup depends on where you live, how much organic waste you generate, and how involved you want to be. Backyard households usually do well with an open pile, a lidded stationary bin, or a tumbler. Apartments often need a compact indoor approach such as vermicomposting with worms, bokashi fermentation, or a freezer scrap collection system paired with municipal or community compost drop-off. I generally recommend that beginners choose the lowest-friction option, not the most ambitious one, because consistency matters more than capacity.
| Method | Best for | What goes in | Main advantage | Main caution |
|---|---|---|---|---|
| Backyard bin | Homes with outdoor space | Food scraps, leaves, yard trimmings | Low cost and flexible volume | Needs turning and pest control |
| Tumbler | Small yards, beginners | Food scraps, shredded paper, dry browns | Easy mixing and cleaner appearance | Can dry out or fill quickly |
| Vermicompost bin | Apartments, balconies | Fruit and vegetable scraps, paper | Indoor friendly and fast for kitchen waste | Worms dislike heat, meat, and excess moisture |
| Bokashi | Apartments with limited space | Most food scraps, including some dairy and meat | Handles wider food range with little odor | Material must be buried or finished afterward |
| Municipal or community drop-off | Very small homes or busy schedules | Collected food scraps | No at-home pile management | Depends on local access and rules |
For a backyard, a simple bin made from wire mesh or recycled pallets often works better than an expensive unit because it provides volume and airflow. A pile roughly three feet wide, three feet deep, and three feet high heats more reliably than a tiny heap. For apartments, a worm bin is usually the most practical true composting system. Red wigglers, not garden earthworms, thrive in shallow bedding and efficiently process kitchen scraps. Bokashi is different: it ferments food scraps in an airtight bucket using bran inoculated with beneficial microbes. The output is not finished compost, but it is excellent for people who want a tidy indoor system and can bury the pre-compost later in soil or add it to a larger compost process.
What to compost, what to avoid, and how to balance materials
Most successful home composting comes down to understanding greens and browns. Greens are nitrogen-rich materials such as vegetable scraps, fruit peels, coffee grounds, fresh grass clippings, and tea leaves. Browns are carbon-rich materials such as dry leaves, shredded cardboard, torn paper, wood chips, and straw. Microbes need both. Too many greens usually create a wet, dense pile that smells sour. Too many browns slow decomposition because there is not enough nitrogen to fuel microbial growth. A practical starting point is to add roughly two to three parts browns for every one part greens by volume, then adjust based on texture and smell.
Materials that usually belong in a beginner bin include produce scraps, eggshells, coffee filters, plain paper napkins, dry leaves, and small plant trimmings. Materials to avoid in standard home systems include large bones, cooking oil, greasy foods, pet waste, glossy paper, and diseased plants. Meat and dairy can attract pests and create odor in unmanaged bins, although bokashi systems can handle limited amounts because the process is anaerobic fermentation rather than open-air composting. Compostable plastics deserve caution. Many certified compostable items require industrial conditions and do not break down well in backyard bins, so read labeling carefully and follow local acceptance rules.
Shredding and chopping speed things up. I have seen a fall leaf pile sit nearly unchanged for months, then break down quickly once the leaves were mulched with a mower. The same principle applies indoors. A whole corn cob or avocado pit takes far longer than chopped stems and peels. Particle size affects surface area, and surface area controls how easily microbes can work.
How to start a backyard compost bin step by step
Set the bin on bare soil if possible. Contact with the ground helps drainage and allows beneficial organisms to move in naturally. Choose a level spot with partial shade and convenient access from the kitchen, because a hidden corner at the back fence often becomes a neglected corner. Begin with a loose brown layer such as small twigs or coarse dry leaves to promote airflow at the base. Add a layer of greens, then cover them with browns. Continue layering as materials become available rather than trying to build a perfect recipe in a single day.
Moisture should feel like a wrung-out sponge. If the pile is dusty and inactive, add water while turning. If it is soggy, add shredded cardboard, dry leaves, or wood shavings and increase aeration. Turning introduces oxygen and redistributes wetter and drier zones. A hot pile may heat above 130 degrees Fahrenheit when the mix and volume are right, which accelerates breakdown and can reduce weed seeds, but home composting does not need to be hot to work. Cold composting is slower, yet it is often easier for beginners because it requires less precision.
Expect a timeline of two to twelve months depending on size, weather, materials, and management. Finished compost is dark, earthy, and crumbly, with few recognizable food pieces. Sift out larger fragments if you want a finer product for seed starting or top-dressing containers. Use the finished compost in garden beds, around shrubs, or mixed into potting soil at modest rates. Compost is an amendment, not a complete fertilizer, so plants with heavy nutrient demand may still benefit from additional feeding based on soil conditions.
How to compost successfully in an apartment
Apartment composting succeeds when the collection system is clean and the processing system matches the building realities. Start with a countertop caddy or lidded container for daily scraps, then empty it frequently into a worm bin, bokashi bucket, or freezer bag for later drop-off. Freezing scraps is underrated. It prevents odor, stops fruit flies, and gives renters a no-fail way to separate food waste even before they commit to a full composting system.
For worm composting, use a ventilated bin with moist bedding made from shredded newspaper, cardboard, or coco coir. Add red wigglers and feed lightly at first: chopped vegetable scraps, coffee grounds, and small amounts of fruit. Bury food under bedding to deter flies. Keep the bin between roughly 55 and 80 degrees Fahrenheit and avoid overfeeding. If the bin smells bad, the usual cause is excess food and moisture, not the worms themselves. Healthy vermicompost has a mild earthy smell and produces castings that work well for houseplants and balcony containers when mixed sparingly into soil.
Bokashi is often easier for people who cook a lot but have no outdoor access. Add food scraps in layers, sprinkle bokashi bran, compress to remove air, and keep the lid sealed. Drain the liquid if the system requires it and use it only according to product directions because it is concentrated. After fermentation, bury the material in soil, add it to a larger compost bin, or use a soil factory container to finish the breakdown. The big advantage is convenience: onion skins, cooked leftovers, and small amounts of cheese are far less problematic than in a worm bin.
Troubleshooting odor, pests, and slow decomposition
The most common compost problems have direct fixes. A rotten smell means the pile lacks oxygen or contains too many wet greens. Turn it, add browns, and stop dumping uncovered food scraps in one wet mass. An ammonia smell points to excess nitrogen, often from grass clippings or coffee grounds, and also improves with carbon-rich materials. If the pile is not breaking down, check moisture first, then particle size, then volume. Small piles lose heat quickly and decompose slowly, especially in cold weather.
Fruit flies indoors usually come from exposed scraps. Freeze scraps, bury feedings in worm bedding, and clean containers regularly. Rodents outdoors are attracted by cooked food, meat, and accessible bins. Use a secure lid, line the bottom with hardware cloth if needed, and cover fresh kitchen scraps immediately with leaves or shredded paper. Ants often indicate a dry pile, while slugs indicate excess moisture and cool conditions. These are management signals, not disasters.
Seasonality matters more than beginners expect. In winter, backyard compost slows because microbial activity follows temperature. That is normal. Keep adding balanced material if the pile can still be accessed, or stockpile browns and hold some scraps until conditions improve. In rainy climates, protect the pile from becoming waterlogged. In hot dry climates, monitor moisture closely because active piles can dry out surprisingly fast.
How composting connects to a broader sustainable home
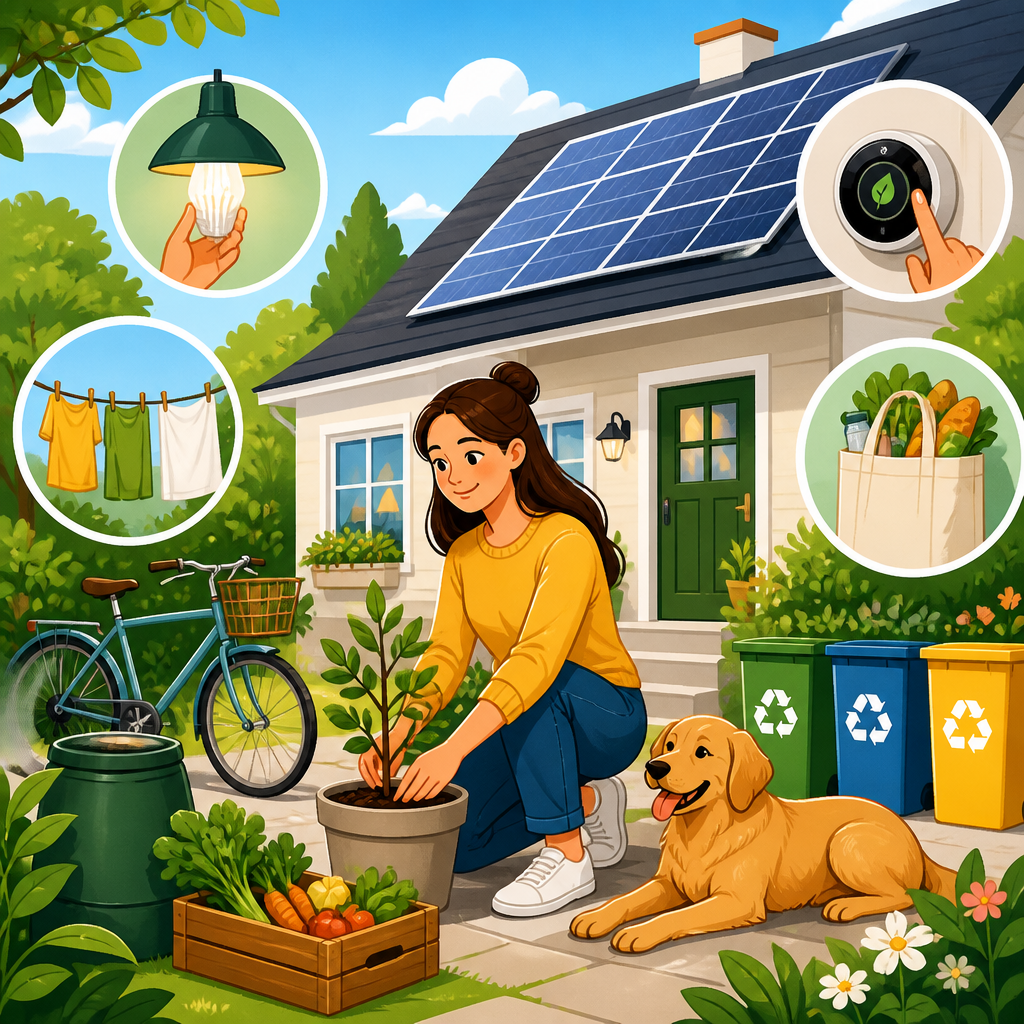
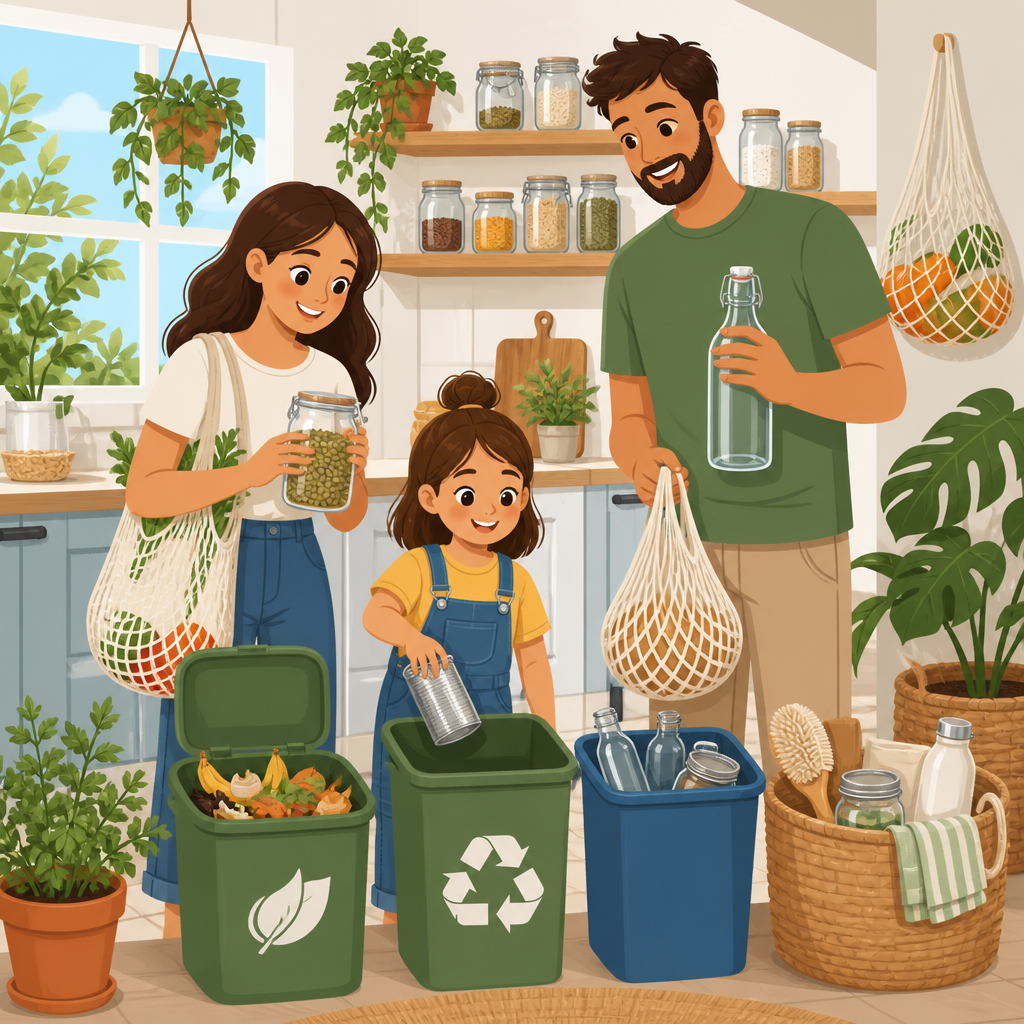
Composting delivers the most value when it is tied to other sustainable living practices at home. First, reduce food waste before it happens. Plan meals, store produce correctly, and use leftovers creatively; compost what cannot be eaten, not what should have been eaten. Second, pair compost with gardening. Even a few herbs on a windowsill or tomatoes in containers make the cycle tangible, turning scraps into basil, salad greens, or flowers. Third, improve your waste sorting system. A clearly labeled station for compost, recycling, and landfill reduces contamination and makes the habit easier for everyone in the household.
There are financial benefits as well. Households that compost and plan meals often cut trash volume and buy fewer bagged soil products. Gardeners see better water retention in amended beds, which can reduce irrigation frequency during warm months. The environmental gain is paired with practical resilience: healthier soil supports stronger root growth, more stable moisture levels, and better plant performance over time.
To make this page useful as a hub for sustainable living at home, think of composting as the gateway practice. From here, the natural next steps are home recycling rules, zero-waste kitchen swaps, water-saving landscaping, energy-efficient appliances, and beginner vegetable gardening. Composting teaches the core habit behind all of them: seeing household outputs not as trash by default, but as resources that can be managed more intelligently.
Starting a compost bin in your backyard or apartment is not complicated, but it does reward a simple system and regular attention. Choose a method that fits your space, collect the right materials, maintain a workable balance of greens and browns, and respond early to odor or moisture problems. Backyard bins offer flexibility and larger capacity, while apartment systems such as worm bins, bokashi buckets, or freezer collection make composting realistic even without a yard. Across every setup, the outcome is the same: less waste sent for disposal and more organic matter returned to soil where it belongs.
As part of sustainable living at home, composting stands out because it is immediate, visible, and useful. You can measure it in fewer trash bags, healthier containers, richer garden beds, and better awareness of what your household consumes. It also supports other practical changes, from smarter meal planning to lower-input gardening and improved waste sorting. Those connections make composting more than a single green habit; they make it a foundation for running a home with less waste and more intention.
If you are ready to begin, start small this week. Pick one collection container, choose one composting method that fits your home, and save your next round of coffee grounds, vegetable peels, and dry paper. Build the routine first, then improve the system as you learn. That is how composting becomes durable, clean, and genuinely sustainable.
Frequently Asked Questions
What do I need to start a compost bin at home, and is it different for a backyard versus an apartment?
Starting a compost bin is much simpler than most people expect. In a backyard, you usually need a bin or designated pile area, a small supply of “greens” such as fruit and vegetable scraps, coffee grounds, or fresh plant clippings, and “browns” such as dry leaves, shredded paper, cardboard, or straw. You also want a basic tool for turning the pile, such as a garden fork or compost aerator, and easy access to water if the pile becomes too dry. Apartment composting uses the same core principles, but the setup changes to fit limited space and odor control. Many apartment dwellers use a compact countertop scrap container paired with a sealed composting system, such as a worm bin or a small bokashi-style setup, or they collect scraps and transfer them to a shared compost drop-off.
The biggest difference is not the material itself but the scale and management style. Backyard composting gives you more room for a traditional bin where you can balance yard waste and kitchen scraps over time. Apartment composting benefits from a more contained, closely monitored system that stays neat, efficient, and pest-resistant. In either case, the best setup is the one you can manage consistently. A simple system you use every week is much more effective than an elaborate one you abandon after a month. Start with a container that matches your space, build the habit of separating compostables from trash, and focus on maintaining a balance between moist nitrogen-rich materials and dry carbon-rich materials.
What can I put in a compost bin, and what should I avoid?
A healthy compost bin accepts a wide range of organic materials. Good additions include fruit and vegetable scraps, coffee grounds and paper filters, tea leaves, crushed eggshells, dry leaves, grass clippings in thin layers, shredded cardboard, plain paper, paper napkins without chemical cleaners, untreated sawdust, and dead plant matter free from disease. These materials break down well and help create the balanced mix microorganisms need to produce finished compost. The general idea is to combine “greens,” which provide nitrogen and moisture, with “browns,” which provide carbon and structure. When people get composting right early on, it is usually because they keep a steady supply of browns on hand rather than adding only wet kitchen scraps.
There are also materials you should avoid, especially in a beginner setup. Meat, fish, dairy, oily foods, grease, and large amounts of cooked food can create odors and attract pests. Pet waste from dogs and cats should not go into a standard home compost bin because of pathogen risks. Diseased plants, invasive weeds gone to seed, glossy or heavily colored paper, treated wood products, and anything containing plastic or synthetic fibers should also be left out. If you are composting in an apartment or using worms, it is especially important to avoid overloading the system with citrus, onions, or very wet scraps all at once. Those materials are not always forbidden, but they should be used in moderation depending on your method. When in doubt, think natural, plant-based, and minimally processed.
How do I keep my compost from smelling bad or attracting pests?
A well-managed compost bin should smell earthy, not rotten. Bad odors usually mean the pile is too wet, too compacted, or overloaded with food scraps and not enough dry carbon material. The easiest fix is to add more browns, such as shredded cardboard, dry leaves, or torn paper, and then mix the contents to improve airflow. Oxygen is essential because composting works best when beneficial aerobic organisms are active. If the pile becomes soggy and dense, anaerobic conditions develop, and that is when foul smells appear. Turning the pile regularly, keeping it moist but not soaked, and covering fresh food scraps with a layer of browns will prevent most odor problems before they start.
Pests are also largely a management issue. In a backyard bin, burying food scraps in the center of the pile instead of leaving them exposed makes a major difference. Avoid adding meat, dairy, or greasy foods, and use a bin with a secure lid if rodents are a concern in your area. In apartments, choose a tightly sealed system and empty your kitchen scrap container often so food does not sit out too long. Freezing scraps until compost day can help if you have limited room or are worried about fruit flies. If you notice insects, first identify them: many small bugs are part of the natural decomposition process and are not harmful. The goal is not a sterile compost bin but a balanced one. With the right mix of materials and a little routine maintenance, odor and pest issues are very manageable.
How long does compost take to be ready, and how can I tell when it is finished?
Compost can be ready in as little as a couple of months or take closer to six months or longer, depending on the method, ingredients, temperature, and how often you turn it. A hot, actively managed backyard pile with chopped materials, proper moisture, and regular aeration will break down much faster than a cool pile that is mostly left alone. Apartment systems vary too. Worm bins process scraps steadily rather than all at once, so you harvest finished material in stages. Small enclosed systems may move more slowly if you add materials faster than they can decompose. For most home composters, patience matters just as much as technique. Composting is a biological process, and speed depends on how favorable the conditions are for decomposer organisms.
Finished compost is usually dark brown, crumbly, and smells like rich soil or a forest floor. You should not be able to recognize most of the original ingredients, although a few slower items like eggshell fragments, avocado skins, or woody bits may still be visible. The pile will also shrink significantly in volume as materials break down. If the compost is still slimy, strongly sour, or full of obvious fresh scraps, it needs more time. A good practical test is to let a handful sit in your palm: finished compost should feel loose and soil-like rather than sticky or matted. Once it reaches that stage, you can use it in garden beds, around trees and shrubs, mixed into potting soil in moderation, or as a topdressing for houseplants and containers.
What is the easiest composting method for beginners who want something low-maintenance?
For most beginners, the easiest method is the one that fits daily life with the least friction. In a backyard, that often means a simple enclosed bin where you add kitchen scraps and yard waste in layers, keep a stash of dry browns nearby, and turn the contents occasionally rather than constantly. You do not need to chase perfect compost chemistry to succeed. If you regularly add plant-based scraps, cover them with browns, and avoid the common problem materials, the system will usually stabilize and improve over time. A tumbler can make turning easier and look tidier, but a basic stationary bin is often just as effective and usually less expensive. The key is consistency, not complexity.
In an apartment, a worm bin is often one of the most practical low-maintenance choices because it is compact, efficient, and well-suited to routine kitchen scrap disposal when managed properly. If handling a live system feels like too much, collecting scraps in a sealed container and using a municipal or community compost program is also an excellent beginner-friendly option. That still builds the composting habit and reduces waste without requiring you to manage decomposition indoors. The best beginner method is the one you can stick with every week. If your system is convenient, easy to clean, and appropriate for your space, you are much more likely to keep using it and actually produce usable compost over time.